
Jaden's 3rd birthday was a pirate party! (and I'm late posting again)
The Invitations:
...and they are fantastic. I have to highly recommend Invitation In A Bottle!
...and they are fantastic. I have to highly recommend Invitation In A Bottle!
So here's my finished products after the necessary assembly steps.
- I printed my own invitations - but Invitation In A Bottle does have the option to have them printed through the company
- I burned the edges of the invitations and rolled them tight
- Add sand, shells and sword to the bottle
- Stick a cork in it with the red ribbon sticking out - that allows recipients to get the paper out without having to pour sand on themselves :)


The Cake:
I decided to try my hand a "simple" pirate ship cake. The design was easy, but it did take some time - so I made this the night before the party.
It took a total of 3 box cake mixes (and I had about half a cake left over).
-1 chocolate sheet cake
-1 chocolate round cake
-1 vanilla round cake
-1 sheet cake with the combination of leftover chocolate a vanilla mix (from making the rounds)
I laid the sheet cake on the bottom, and cut the round chocolate cake in half - stacking the pieces for the front of the ship (this got chiseled away a bit to make the front look more pointed than round).
A portion of the other sheet cake for the back layer, and another small piece stacked on that (you can see it in picture 2 on the back, but not picture 1).

Icing the cake was the toughest part and took a lot of icing because of the cut pieces and crumbs. You'll need to apply a crumb layer first and let it dry/cool, then you can ice the cake again to smooth everything out.
I piped the cake with yellow to look similar to 'Bucky' (even though the shape and the flag aren't the same). The windows are vanilla wafer cookies. I had grand ideas to buy those round wafer cookies for cannons, but it eluded me when the time came.

With the other round white cake, I made an island and covered it in graham cracker crumbs for sand.

The tray this is on is cardboard covered in aluminum foil - which made it super easy to transport. I covered the foil in some white icing and sprayed it with blue food coloring spray. This doesn't get eaten at all, but certainly adds to the appeal.

The finished product on party day!

The Party & Decor:
I created treasure maps for the kids of the backyard. X marked the spot of all the places where they could find treasure or treats. These maps were on the "you are here" table with pirate accessories like eye patches, inflatable swords, and bandanas.
As a party favor, the kids also got plastic treasure chests to fill with any treasure they find throughout the party. I unfortunately didn't get a picture of this table before it got ransacked by the kiddos.


I found an amazing website with a plethora of cost efficient party supplies (including those treasure chests and inflatable swords), but you have to make a minimum purchase of $50 - which isn't too bad considering what stuff costs at the retail store. So CHECK IT OUT!

Baby ball pit for the littlest ones (found this at Walmart)!

A pinata - one of the locations of treasure on the maps

Splash pool - one of the locations of treasure on the maps

Treasure dig in the sandbox - one of the locations of treasure on the maps
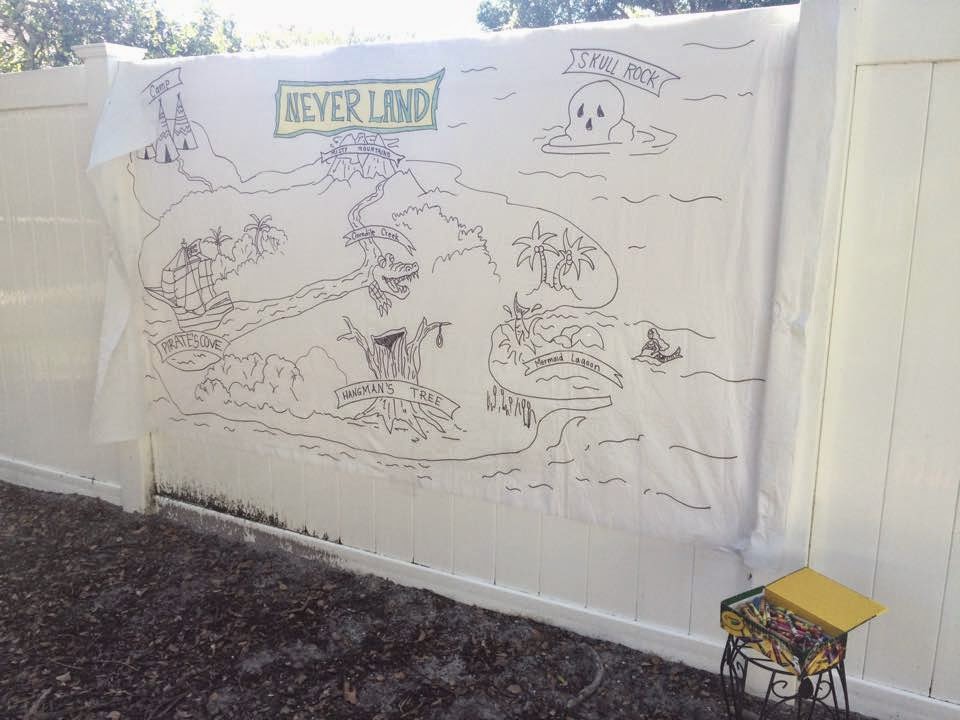
And my favorite thing - a friend gave me a giant hand-drawn map of Neverland! This was drawn onto a white paper tablecloth and hung up for the kids to color.
So as I wrap up this blog post, I'll leave you with a free template - the table tents I used on the food tables. Please download and add your own text to the labels.

No comments:
Post a Comment